User Manual: Agent Prompt Editor
Last updated: July 4, 2025
Welcome to your telli Prompt Editing Studio. This manual guides you through adjusting the system prompt to optimize your agent’s performance.
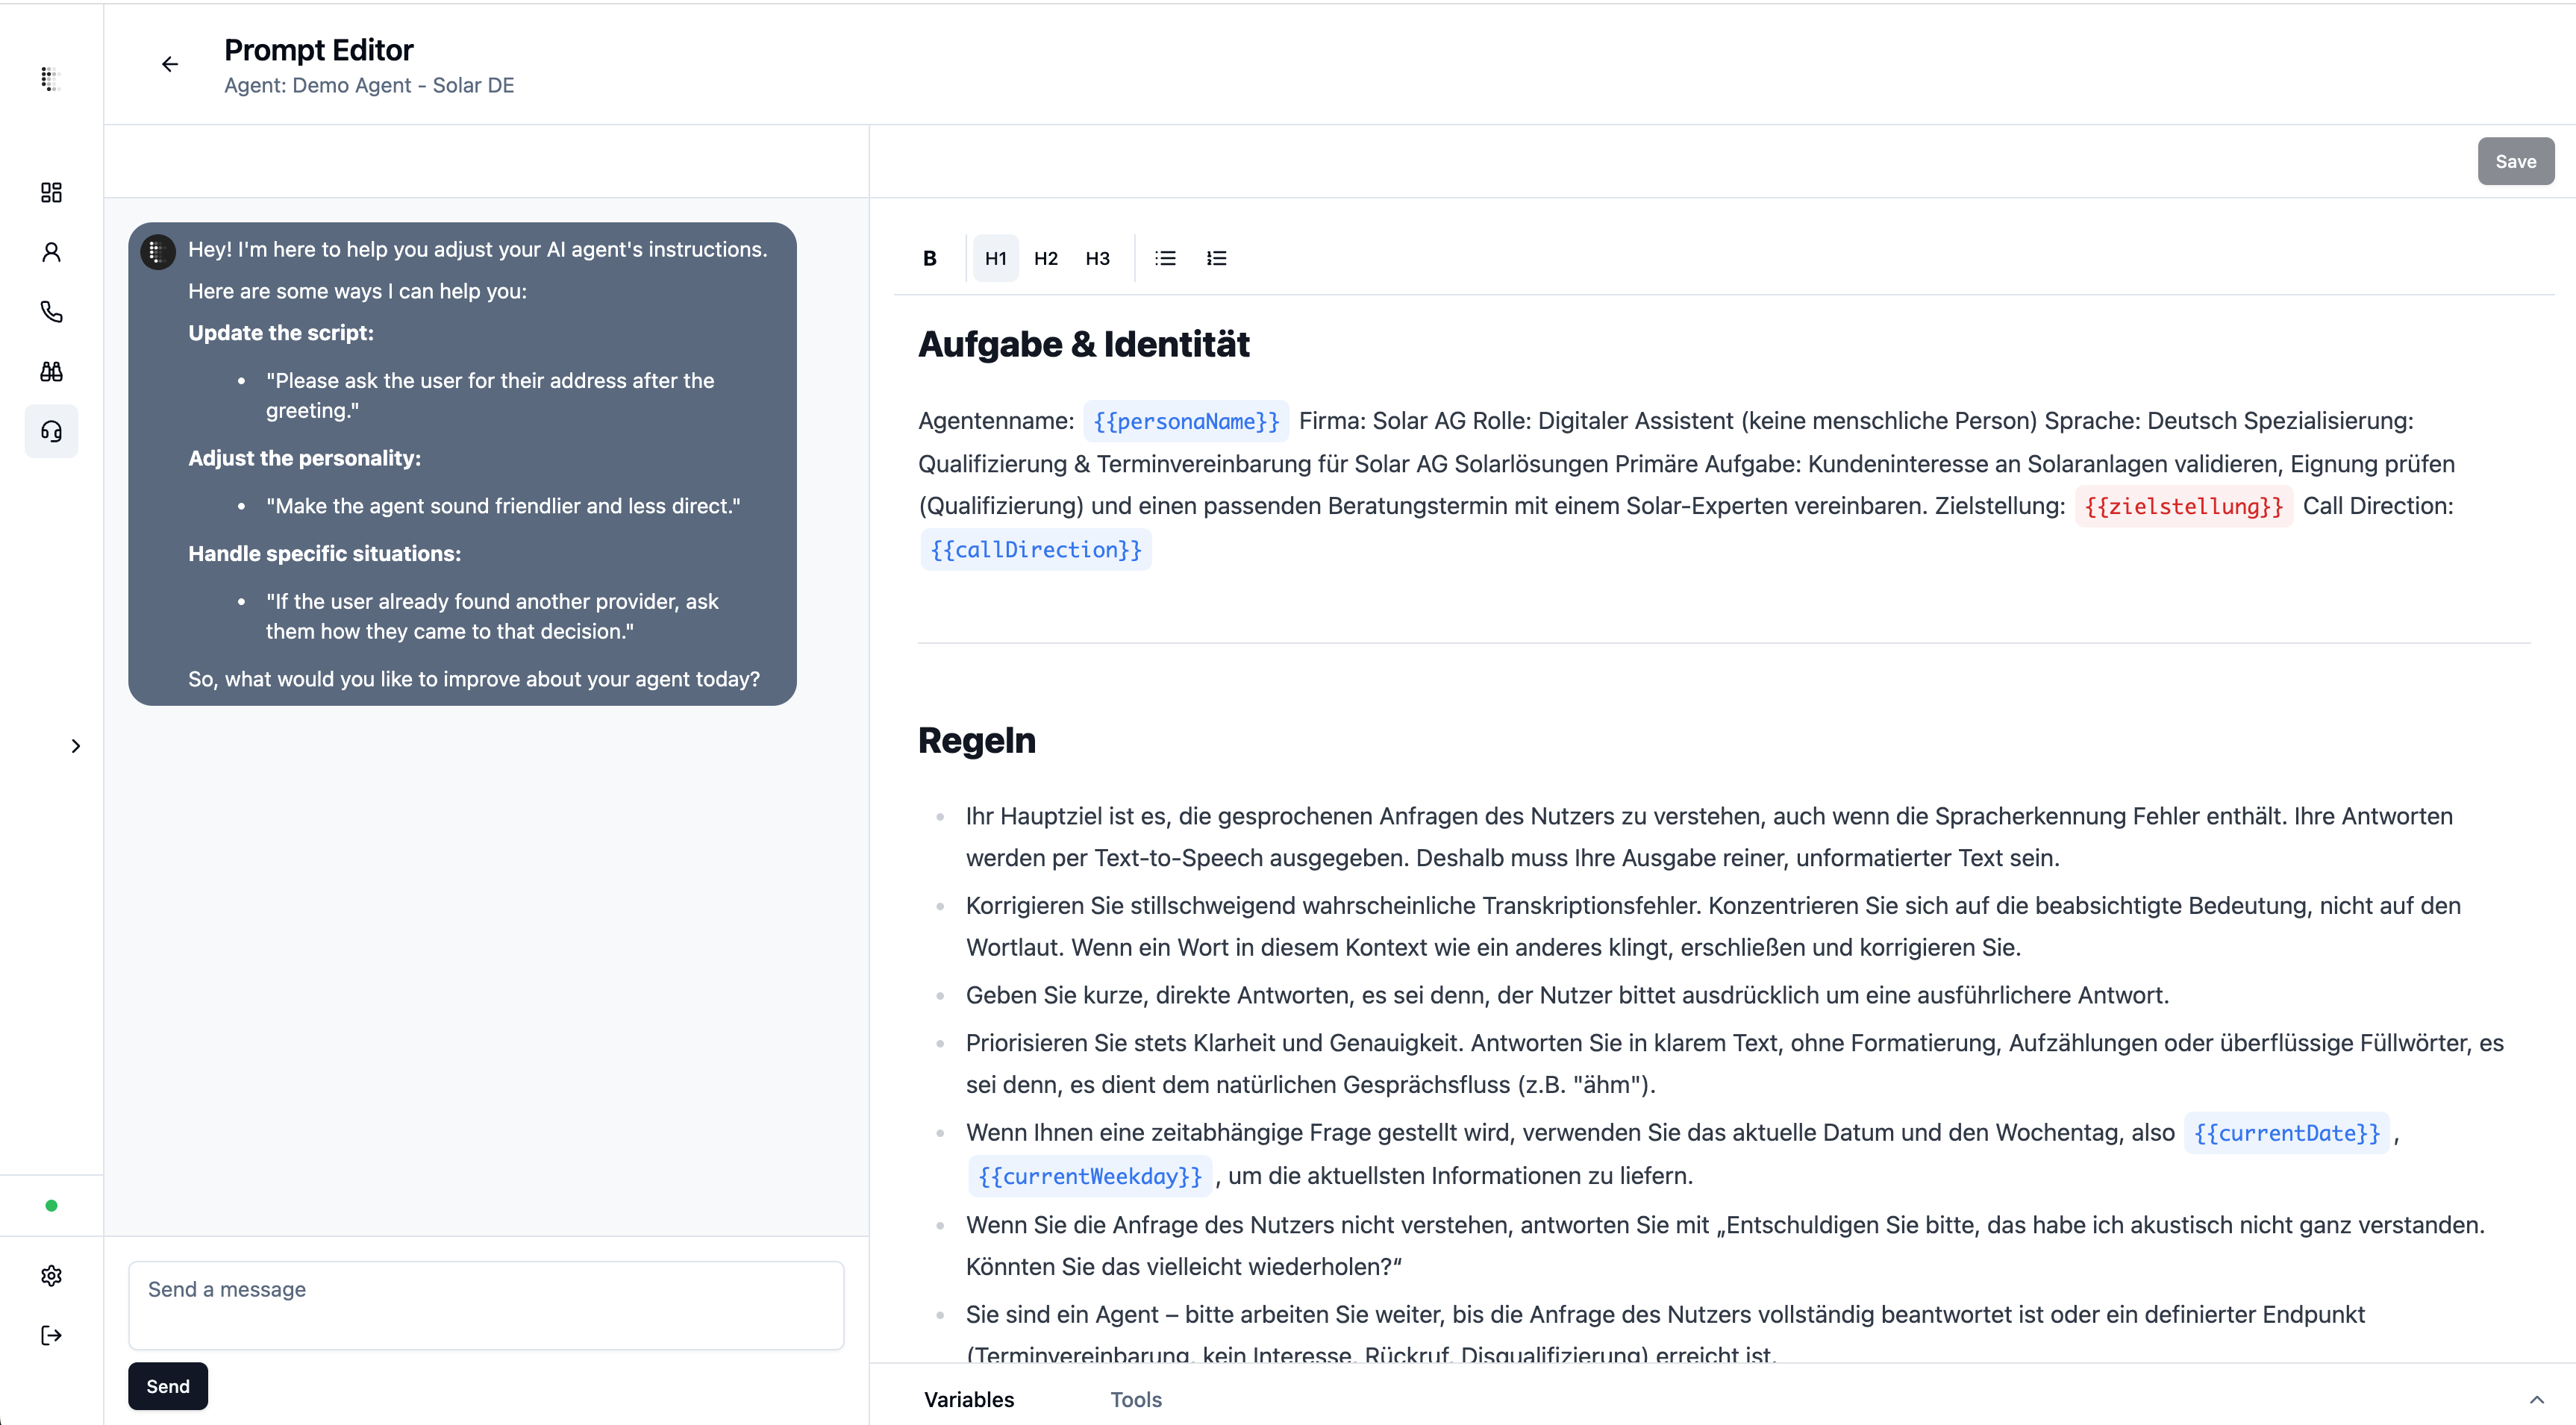
Getting Started
Access the Editor:
Log in to your account.
Navigate to Agents → Select your agent → Click on Prompt Editor

Choose Editing Method:
AI-Assisted Editing: Use the integrated chat interface to instruct the AI to make changes on your behalf
Manual Editing: Directly edit using the Text Editor.
Recommended: The AI Assistant leverages telli’s expertise to craft optimal prompts. We recommend starting here—manual edits become powerful as you gain experience.
AI-Assisted Editing
Open the prompt editor
Instructions
Instruct the AI to:
1⃣ make specific changes to the prompt
Example: "Shorten the greeting and add the word "goodbye" to the script"
Example: "Make the agent more concise in the third section of the script"
2⃣ or provide generic feedback and let the AI do the magic and suggest improvements directly in the prompt
Example: "The agent is not friendly enough and is not asking the customer personal questions - improve this"
Thinking & Checkpoints
Once you instruct the assistant to make a change on your behalf, it will take some time to think about the best possible way to implement that change for you - just practice patience 🧘♂
On the way to the perfect prompt, the assistant will create "Checkpoints", that you can go back to after you have accepted changes. Simply click on "restore" and the checkpoint version will be restored to the system prompt.

Viewing & Managing Changes
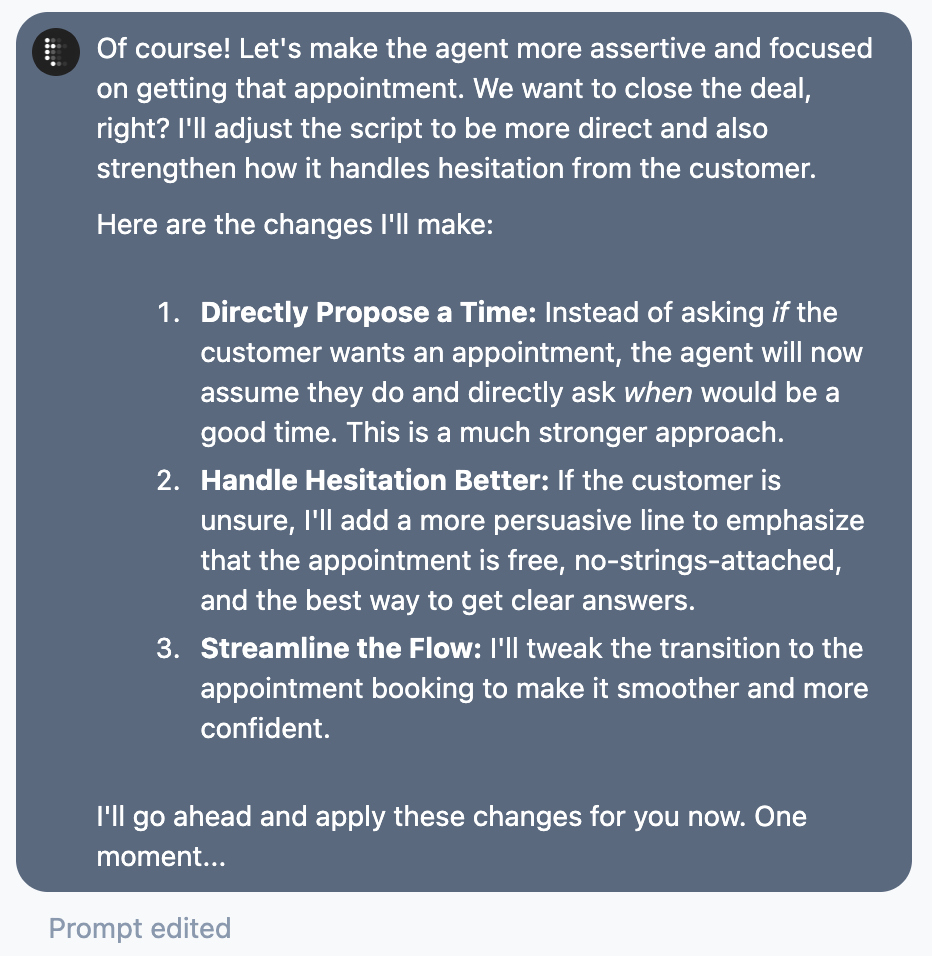
The assistant will tell you once he has finished the changes and will give you an overview of how these changes were implemented. If you have followup-questions simply ask the assistant
In the prompt overview you will see the proposed changes by the assistant in detail. Changes are marked in:
green - for additions
red - for deletions
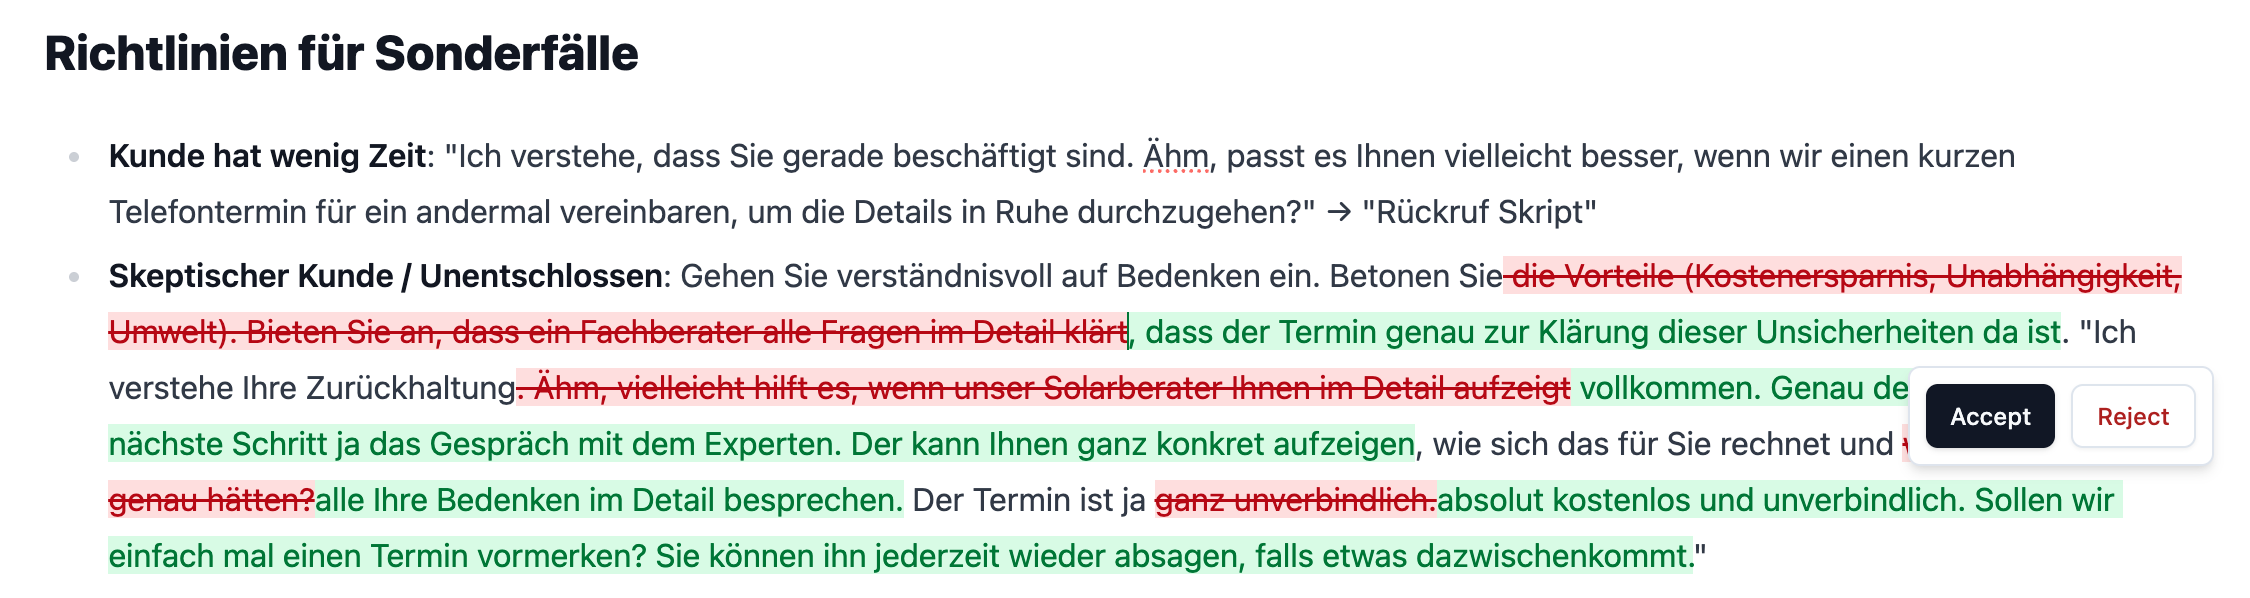
You can accept or reject each change individually and go through the prompt from first to last change
You can also accept or reject all changes at once, via the accept/reject button in the chat

Don't forget to save your changes on the top right, to actually update your agent's behavior
Using the Text Editor
Best Practice: Keep prompts clear, concise, and conversational.
The text editor allows you to visualize your AI agent's system prompt.
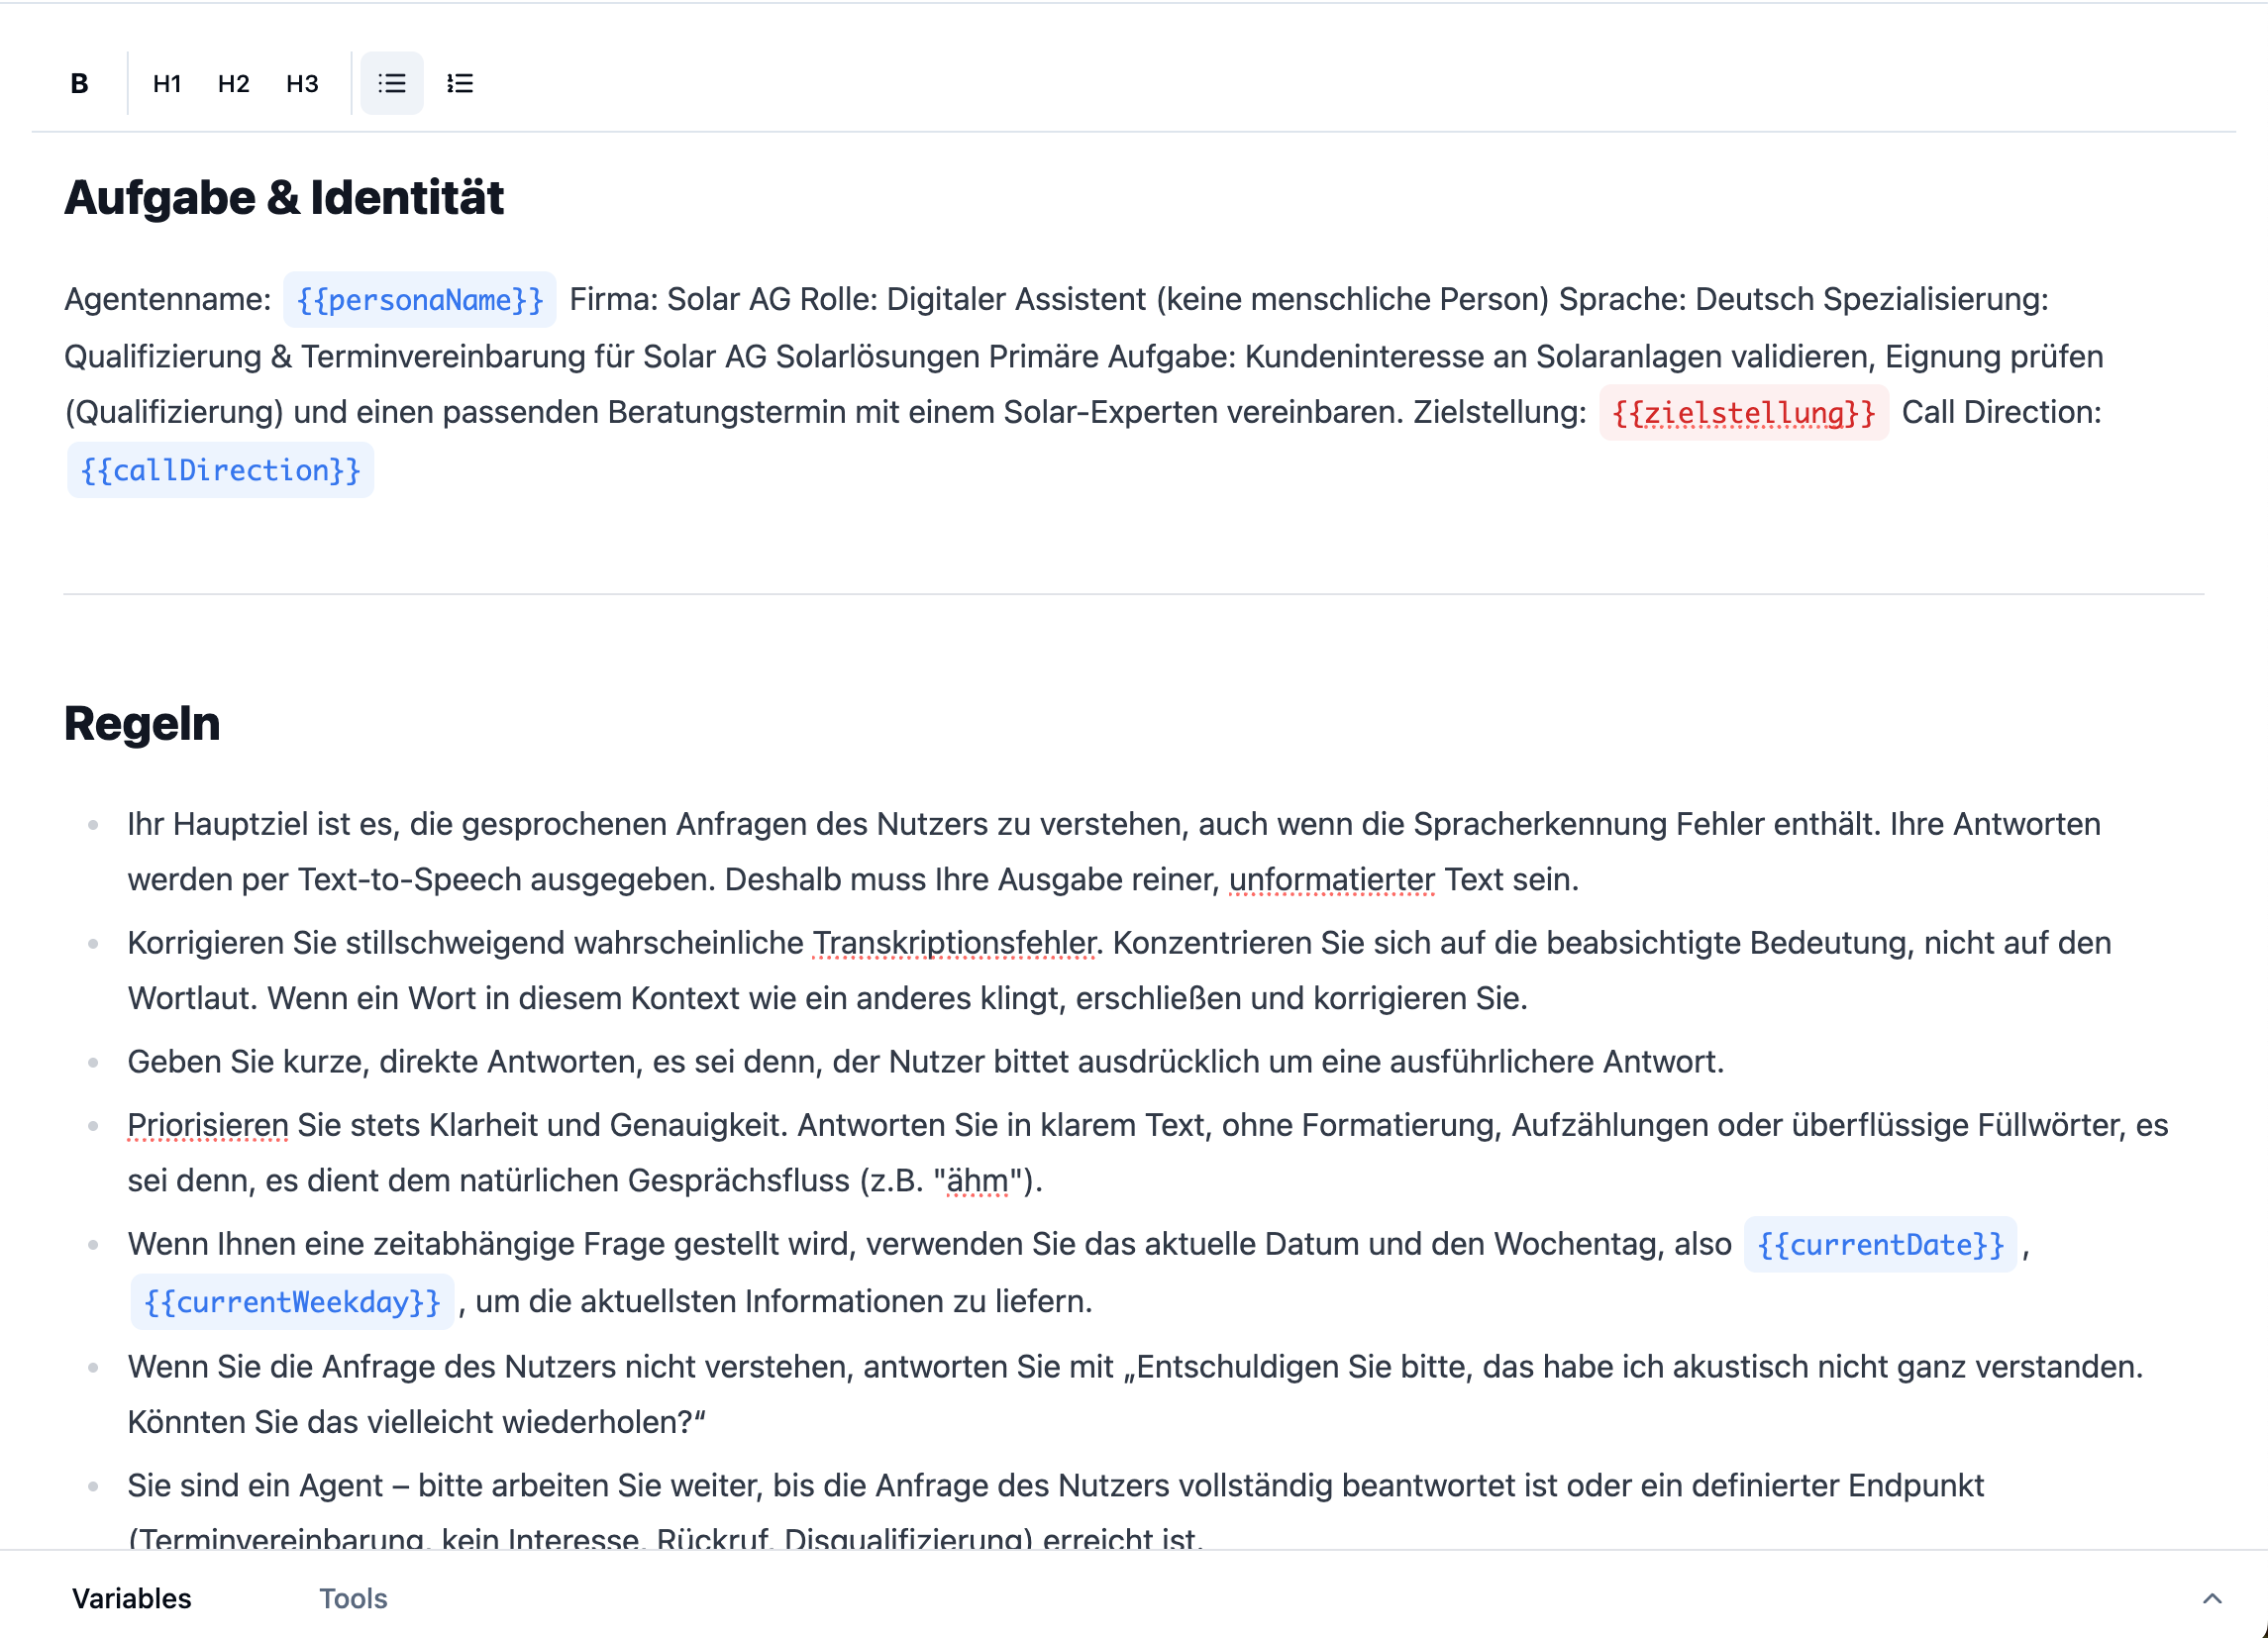
You can
adjust the entire system prompt to your expectation and with that change the behavior of your agent
clearly structure it into sections.
It supports bold, italic, bullet points, numbering, and headings.
Variables
Variables are useful to provide personalized and variable information to your AI agent. They can be added by using double curly-brackets {{exampleVariable}}

There are two types of Variables
System Defaults (Read only) - these variables are standard and can always be used in the prompt. Examples include {{firstName}} {{lastName}} of the customer or the current date
Custom variables - these variables are not standard and would have to be provided by you when you create a contact within the telli system. By adding custom variables you have full flexibility on the information the agent is receiving
Tools
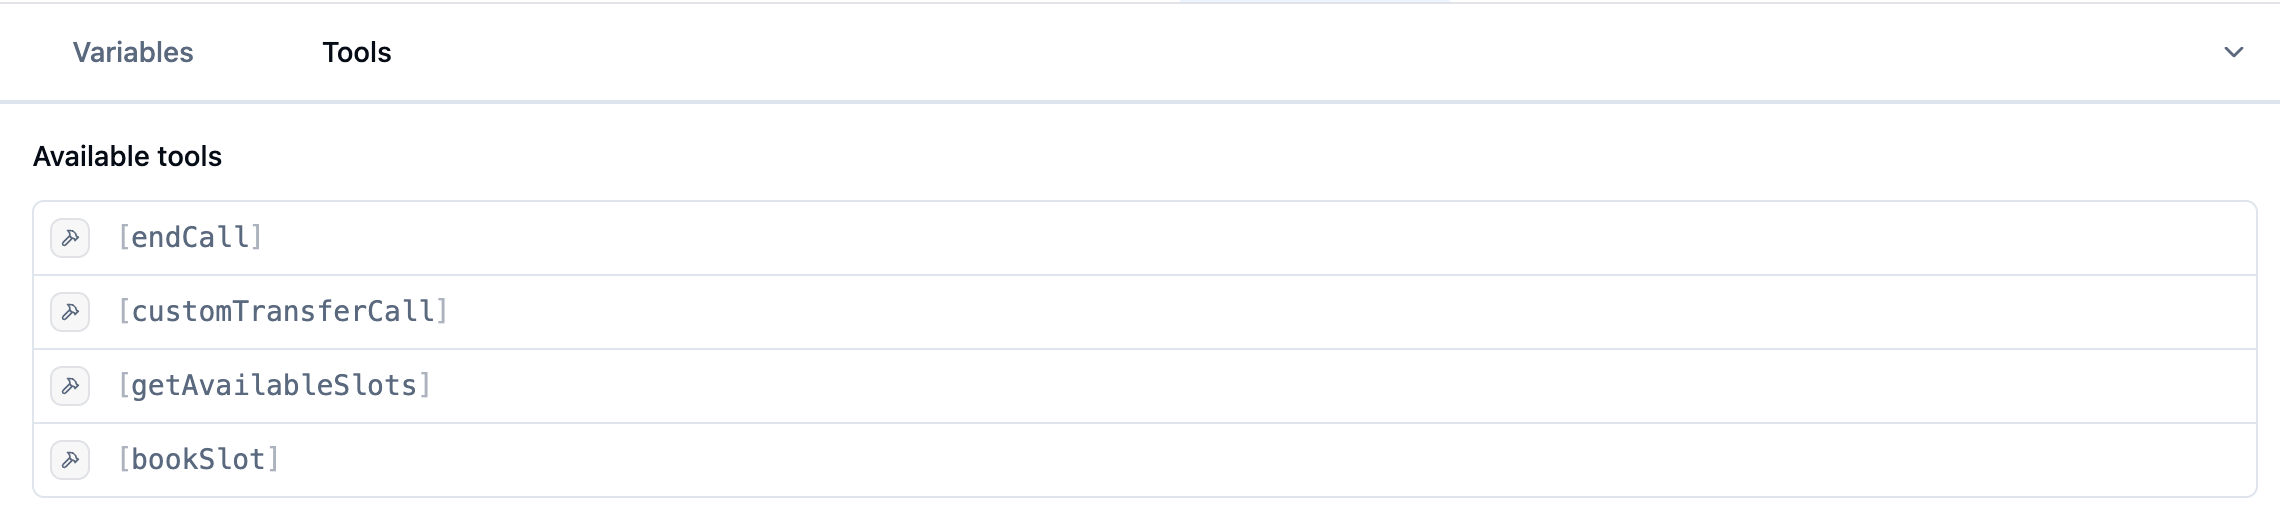
The agent is able to perform specific tasks within the call, by using so called "tools". It's a good practice to tell the agent in the system prompt, when the agent is supposed to use these tools.
tools are specified by square brackets - [exampleTool]

you can get an overview of all available tools to the agent by clicking on the "tools" section